Mobile app
The intention of mobile application Forest diversity is to create an online database of habitat trees that are important elements supporting (not only forest) biodiversity. Such elements are based on data collection carried out by qualified institutions as well as by the members of public interested in nature and its conservation; the potential of using data for scientific purposes applies in both cases. If we were able to map larger areas, point records could be used to, for example, modelling the occurrence of species bound to deadwood. In summary, the collected data should contribute to spreading the awareness regarding the importance of habitat trees for biodiversity protection of a great proportion of endangered species, the necessity of their protection and required responsible behaviour in their vicinity. All this is necessary and it is also an important prerequisite for the current presence of these trees in the landscape as well as within urban environment.
For users representing institutions, for example the Landscape Protection Agency, Forests of the Czech Republic or schools and universities, a registration option is available below. After approval, the registered user will have the opportunity to log into the mobile application and this web portal, based on which he will be able to edit or delete the trees saved by him. The registration of institutional users, and thus competent experts, will help us with the process of evaluating the relevance of mapped microhabitat trees and with the subsequent analysis of a larger data set.
The Forest diversity mobile app is available at Google Play App Store
How to map a habitat tree?
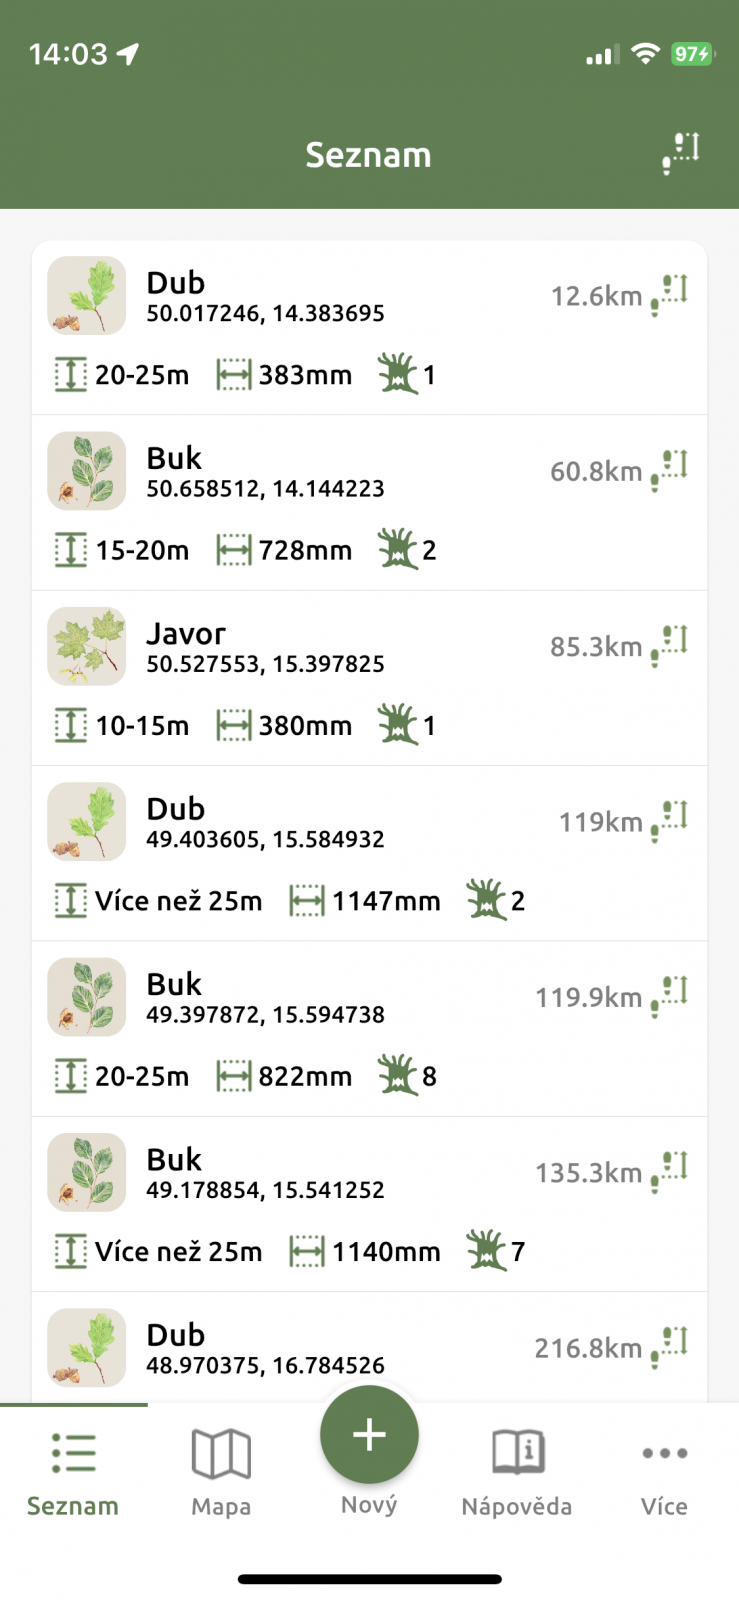
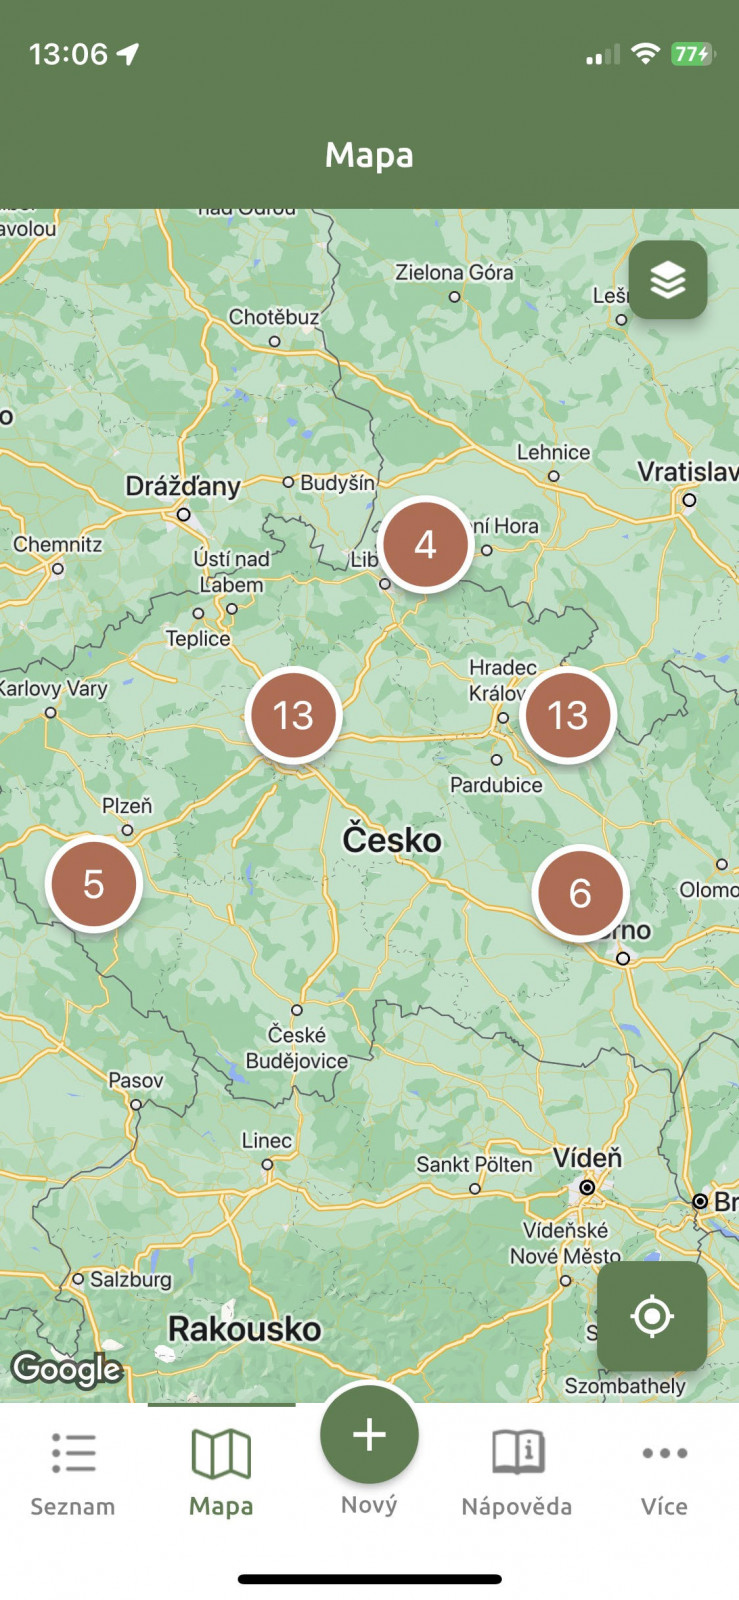
When you launch the app, first enable your location targeting, which you will be asked to do. This step is necessary for the subsequent recording of the habitat tree you find, which you start with the green circle in the middle of the bottom panel. In this panel you will also find a link to the list and map of already saved habitat trees, complete help, information about the project or a gallery of forest species of organisms that use the habitat trees.
You start recording your habitat tree by saving its GPS coordinates. In the map preview, first choose to edit the location using the button in the lower right corner. Also, set your current location using the button in the lower right corner of the map. Check if they agree and confirm it with the "Choose" button in the upper right corner. The "Latitude" and "Longitude" fields should be filled in at this point.
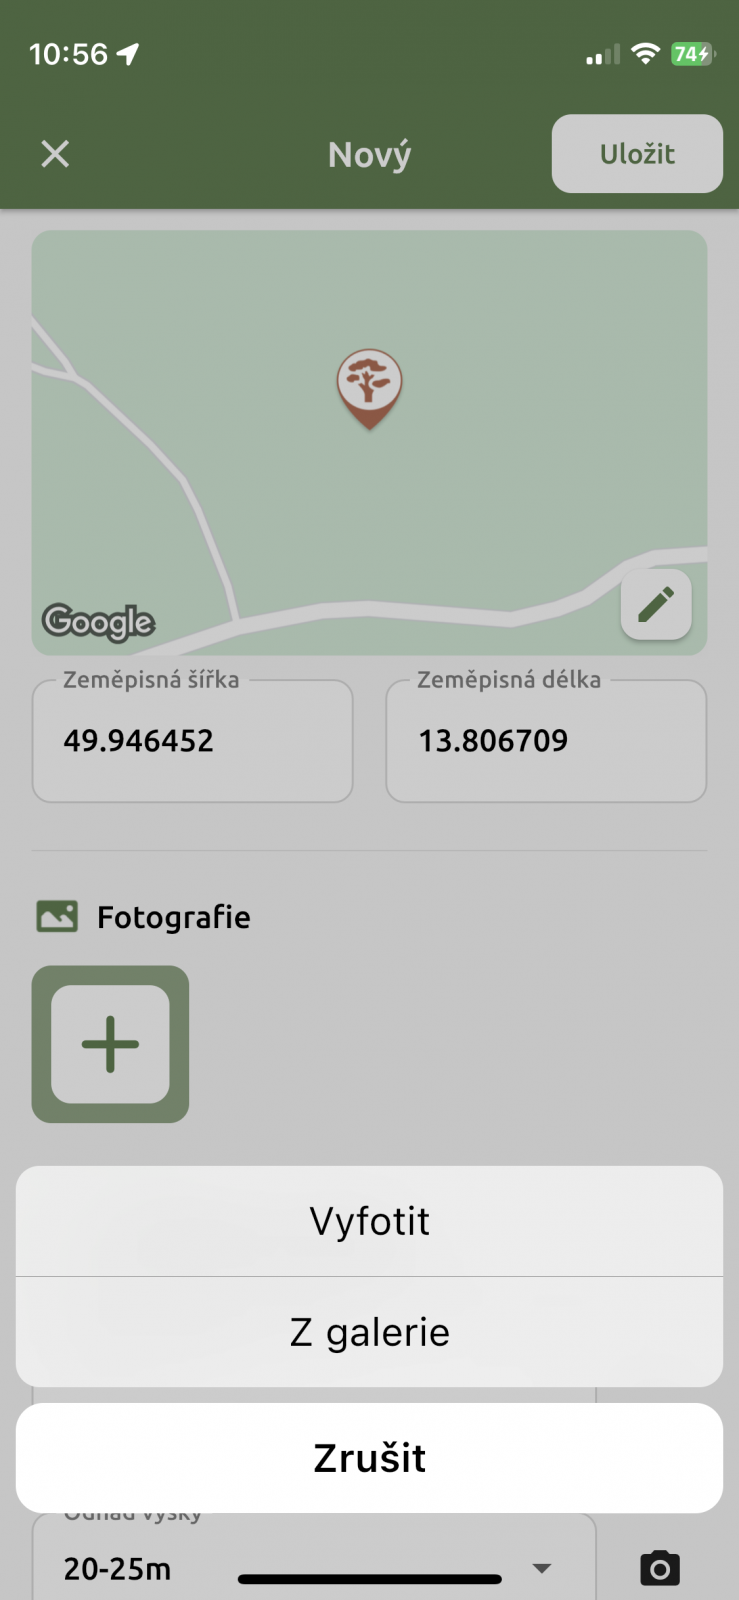
The next step is a photo of your habitat tree. Using the icon in the "Photos" section, insert a photo of the tree directly from your phone's album, or take it with the camera (after taking a photo, click "Use photo" to confirm). Please try to use the best photo of the tree. Cavities and other visible try to capture the tree microhabitat as accurately as possible.You can insert several images.
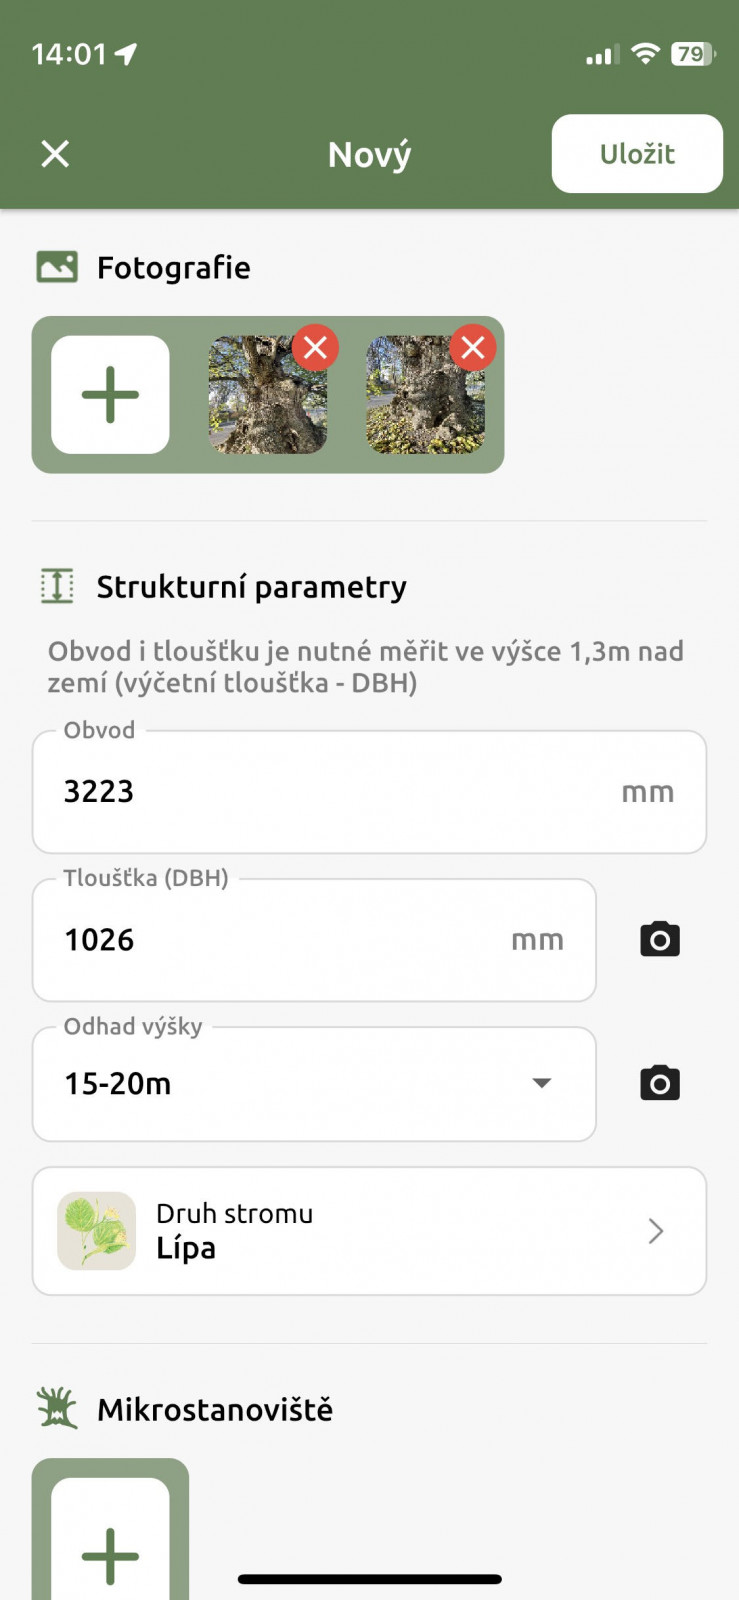
Now we come to record the circumference of the tree or the enumerated thickness of the tree, which is a forestry term defining the diameter of the tree trunk at a height of 1.3m above the ground, i.e. roughly at the height of an adult's chest. These values are usually measured by forest tape measure or tree caliper. If you do not have this options, you can also find out the diameter of the tree trunk by simply applying a meter or estimate it with the greatest possible accuracy. It is always enough to enter only one of the values, while the application automatically calculates the second one. Enter both values in millimeters.
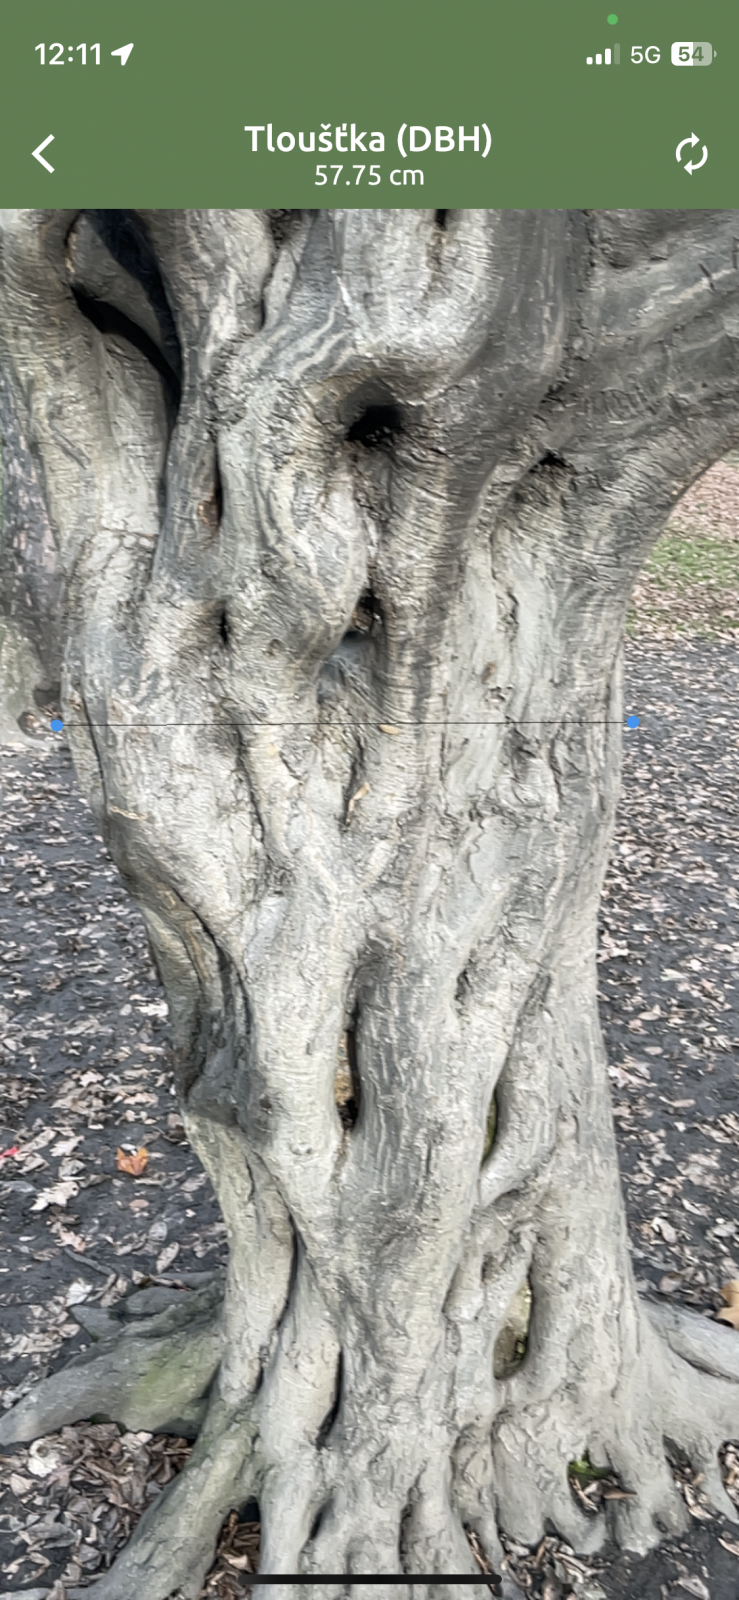
If you have an Apple phone, you can also measure the total thickness using your camera with the icon on the right. Aim it at the left edge of the tree trunk at about 1.3m (confirm point A – a blue dot will appear), then move it to the right edge of the trunk (confirm point B – a blue dot will appear). After the numerical value is displayed at the top of the screen, you can go back one step and the appropriate box will be filled in automatically.
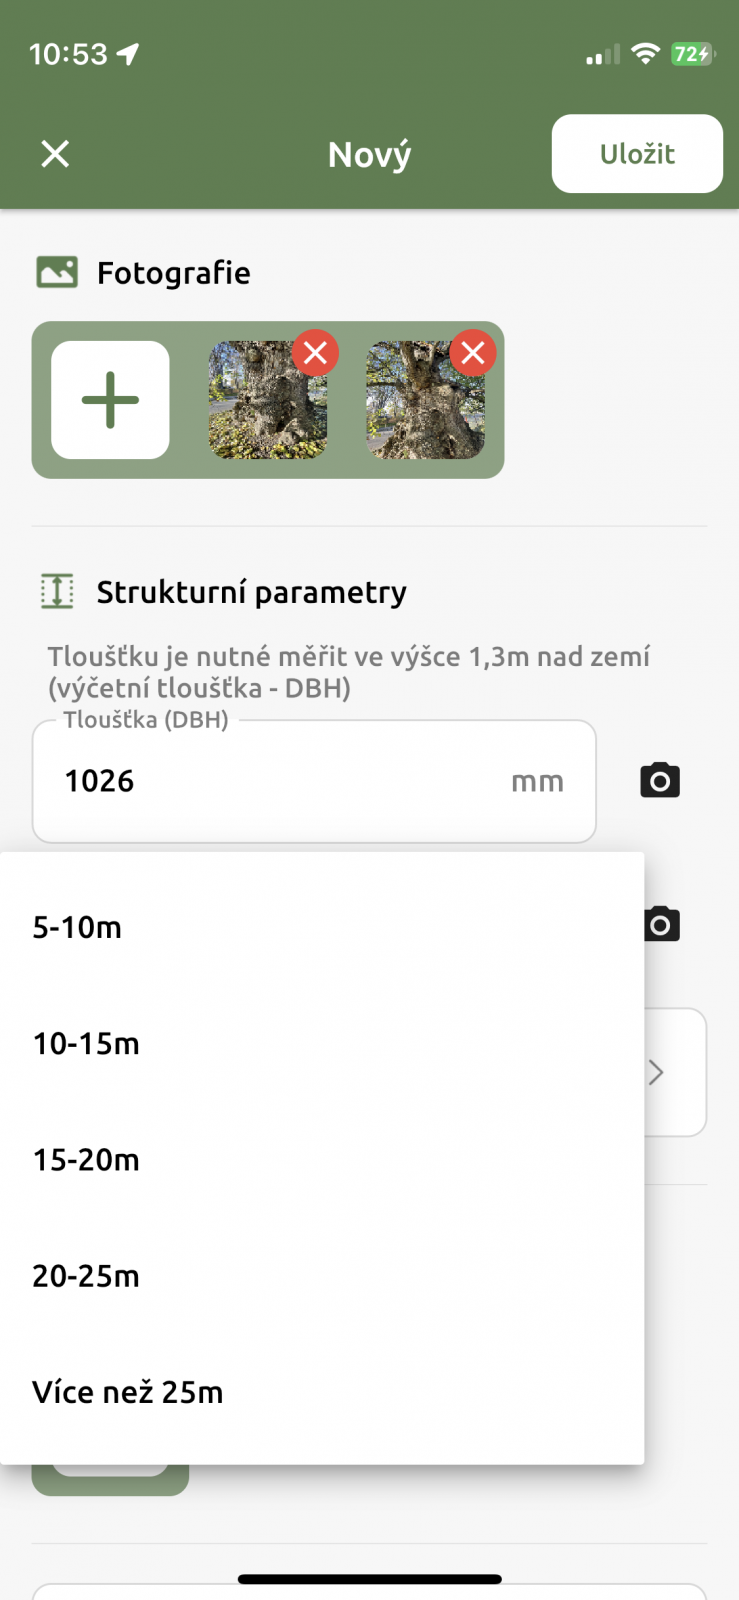
Next, we need the height of the tree from you. Try to estimate as accurately as possible and simply choose the appropriate range of values in the menu, which are given every five meters. Again, if you have an Apple phone, you can generate the height of the tree using your camera (icon on the right), as in the case of calculating the thickness of the tree, i.e. focus first on the base of the trunk and then on the top of the tree crown. Confirm and the relevant field will be filled in automatically.
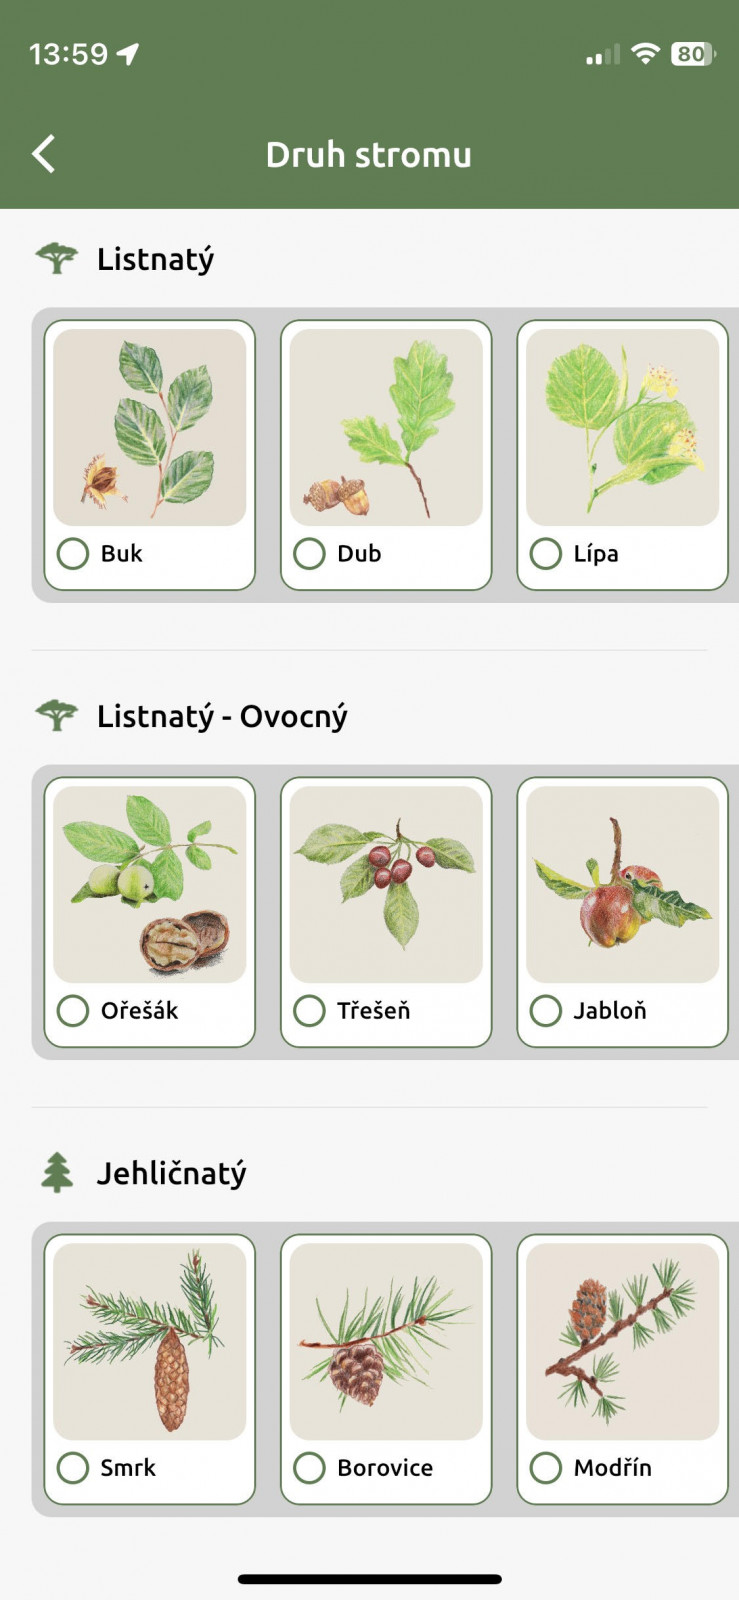
The type of tree you save is also important information for us. From the relevant selection of deciduous (beech, oak, linden, maple, poplar, hornbeam, ash, elm, rowan, alder, willow, birch, acacia, horsetail, walnut, cherry, apple, pear, plum) and coniferous (spruce, pine, larch, fir, Douglas-fir, yew) so choose which one you have found. If you can determine the exact species, please mark it in the list that the application will offer you under the corresponding tree species.
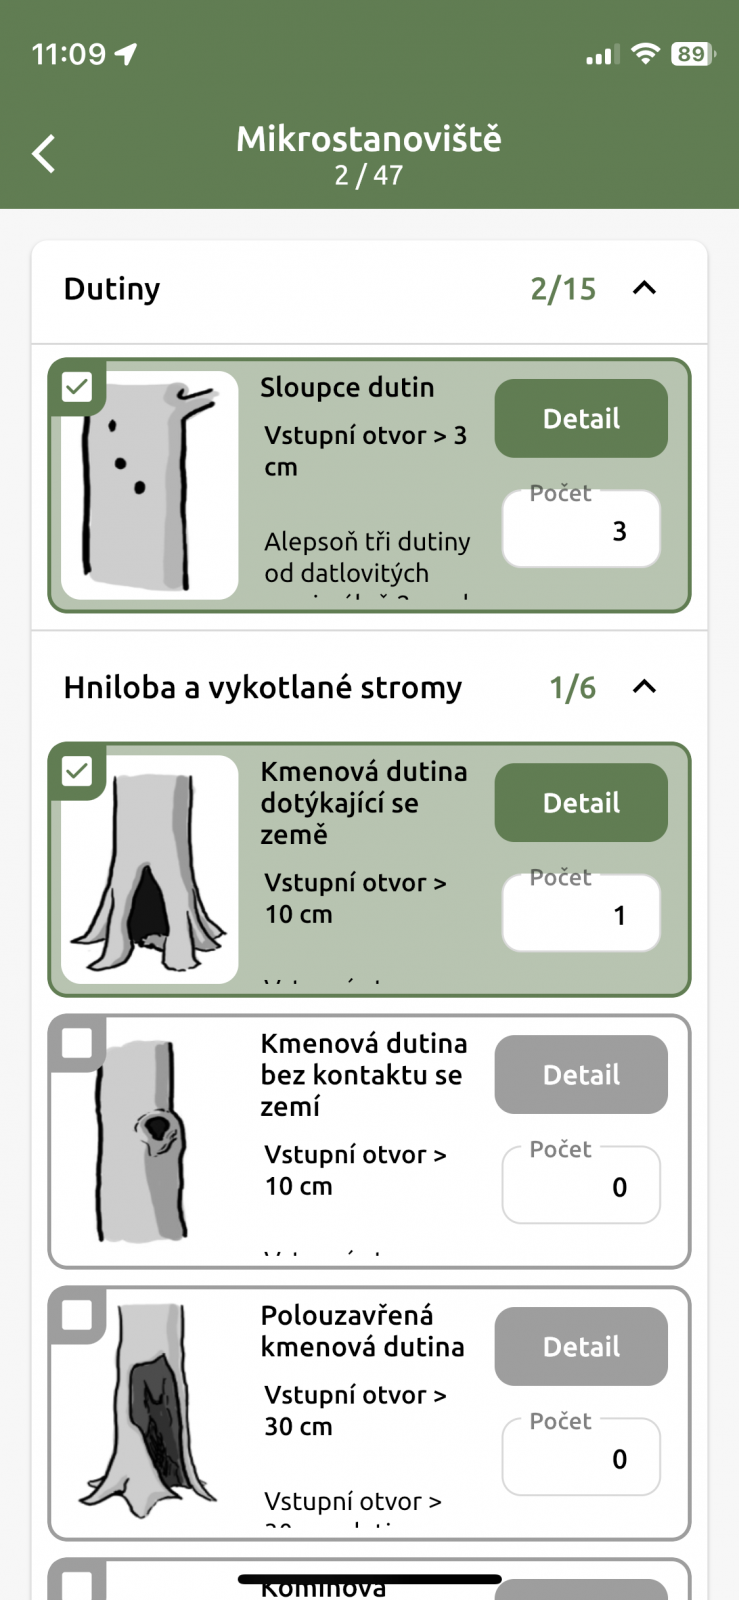
Now you can proceed to the selection of tree microhabitats. From the gallery, select all the tree microhabitats that, according to your observation, occur on the tree. For some, only confirmation of occurrence is sufficient, for others we are also interested in their number on the tree - in these cases, you will be offered to fill in the number during selection. If you have binoculars, focus on the crown of the tree as well. Not only cavities and cracks on the trunk, but also broken branches or dead parts of the crown are important to us.
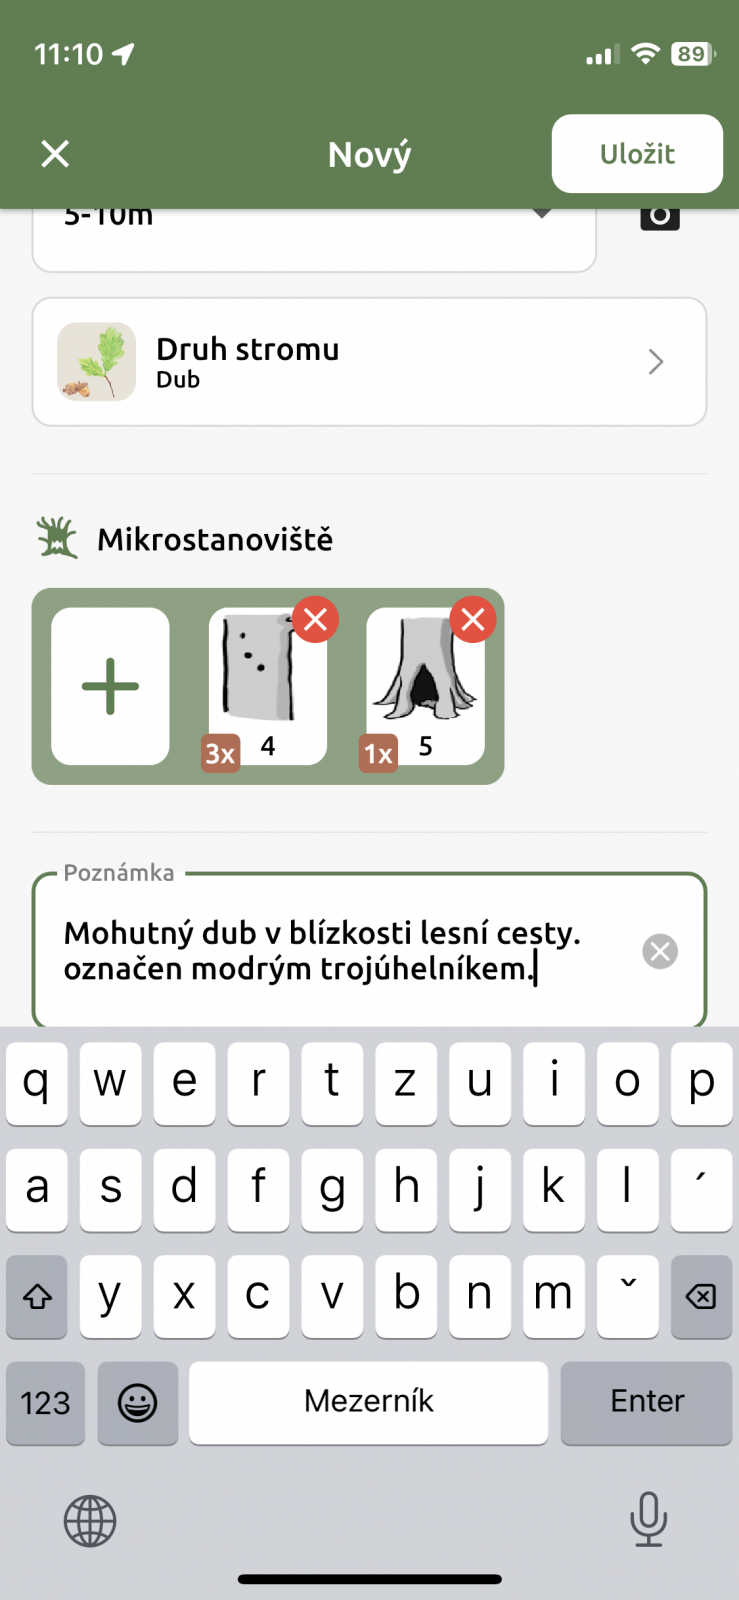
If you think you have other important information about your tree that we didn't ask about in the previous steps, please write it to the box "Note". For example, we are interested in whether the tree you are recording is marked with a blue triangle, which officially marks trees with cavities. You can also briefly evaluate the health of the tree in your opinion or what its time perspective is at the site.